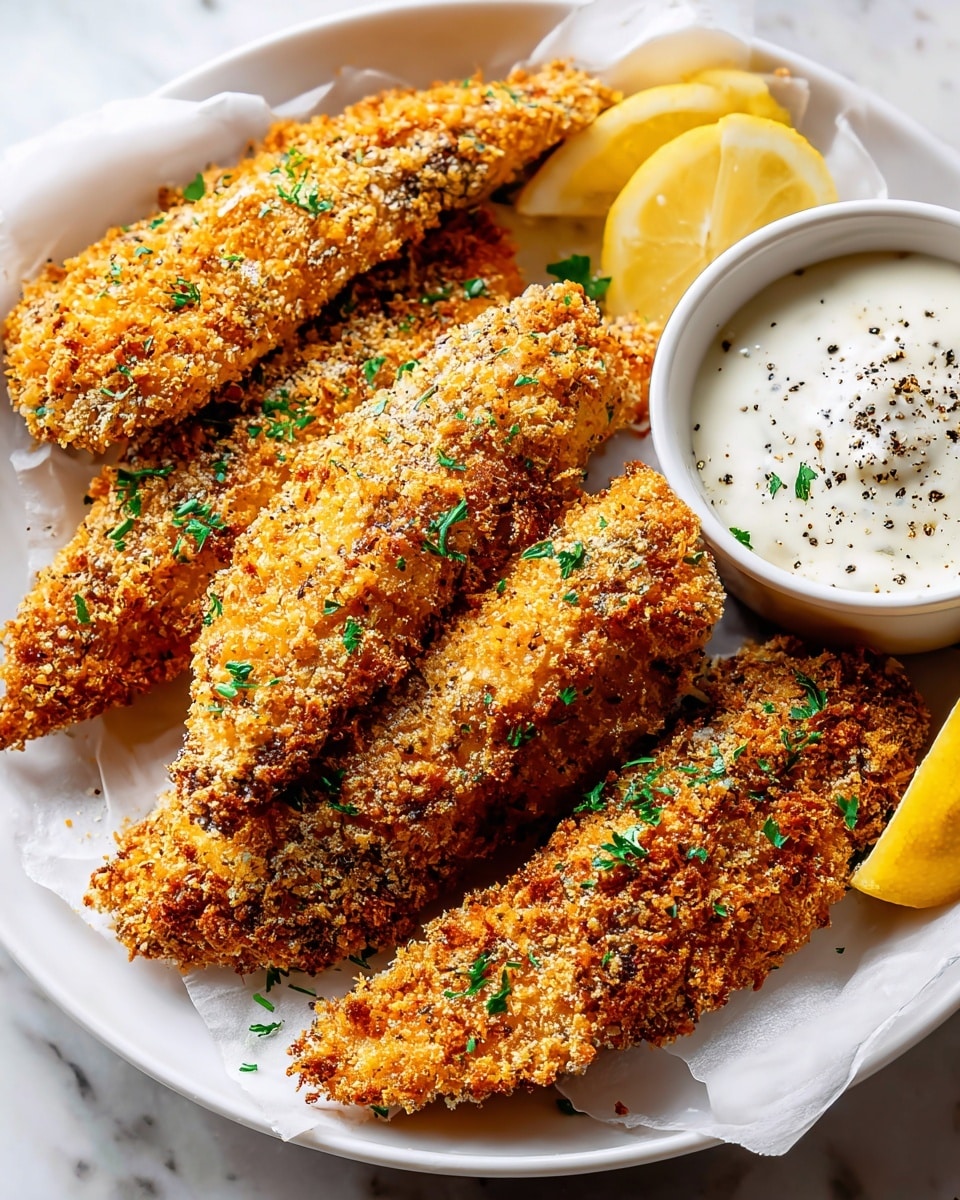
I love making these crispy oven baked chicken tenders when I want something crunchy, comforting, and easy without frying. The chicken turns out juicy on the inside with a perfectly golden and crispy coating on the outside. Baking them in the oven keeps the recipe lighter while still delivering the satisfying crunch I enjoy in classic chicken tenders.
Why You’ll Love This Recipe
I enjoy this recipe because it gives me all the crispy texture of fried chicken without the mess of deep frying. The coating becomes beautifully golden in the oven while the chicken stays tender and juicy.
I also like how simple the ingredients are. Everything I use is easy to find in my kitchen, and the preparation takes only a few minutes. This makes it perfect for quick dinners, snacks, or even meal prep.
Another reason I keep coming back to this recipe is how versatile it is. I can pair the tenders with fries, salads, wraps, or dipping sauces depending on what I feel like eating that day.
ingredients
(Here’s a tip: Check out the full list of ingredients and measurements in the recipe card below.)
1 lb (450 g) chicken breast, cut into strips 1 cup (100 g) breadcrumbs or panko breadcrumbs 1/2 cup (50 g) grated parmesan cheese 1/2 cup (60 g) all-purpose flour 2 large eggs 2 tablespoons milk 1 teaspoon garlic powder 1 teaspoon paprika 1/2 teaspoon onion powder 1/2 teaspoon salt 1/2 teaspoon black pepper 2 tablespoons olive oil or cooking spray
directions
I start by preheating my oven to 400°F (200°C) and lining a baking sheet with parchment paper or lightly greasing it.
Next, I prepare three bowls for breading. In the first bowl I place the flour. In the second bowl I whisk together the eggs and milk. In the third bowl I mix the breadcrumbs, parmesan cheese, garlic powder, paprika, onion powder, salt, and black pepper.
I take each chicken strip and coat it first in the flour, making sure it is lightly covered. Then I dip it into the egg mixture so the coating will stick well. Finally, I press the chicken into the breadcrumb mixture until it is fully coated.
I arrange the coated chicken tenders on the prepared baking sheet, leaving a little space between each piece. I lightly drizzle or spray them with olive oil to help them crisp up.
I bake the tenders for about 18–22 minutes, flipping them halfway through so both sides become golden and crispy. Once they are cooked through and nicely browned, I remove them from the oven and let them rest for a couple of minutes before serving.
I sometimes change the flavor of the coating depending on what I am in the mood for. Adding a little cayenne pepper gives the tenders a spicy kick that I really enjoy.
When I want extra crunch, I use panko breadcrumbs instead of regular breadcrumbs. They create a lighter and crispier texture.
I also like adding dried herbs such as oregano or Italian seasoning to the breadcrumb mixture. It adds a subtle aromatic flavor that pairs well with the chicken.
Another variation I enjoy is using crushed cornflakes instead of breadcrumbs. It creates a very crunchy coating that feels a bit different but equally delicious.
storage/reheating
I store leftover chicken tenders in an airtight container in the refrigerator for up to 3 days.
When I want to reheat them, I place them in the oven at 375°F (190°C) for about 8–10 minutes. This helps the coating become crispy again. I avoid using the microwave because it can make the breading soft.
If I plan to keep them longer, I freeze the cooked tenders on a tray first and then transfer them to a freezer bag. They can stay frozen for up to 2 months. I reheat them directly from frozen in the oven until hot and crispy.
FAQs
Can I use chicken thighs instead of chicken breasts?
Yes, I sometimes use boneless chicken thighs when I want an even juicier result. I simply cut them into strips and follow the same breading and baking process.
How do I make the tenders extra crispy?
I like to use panko breadcrumbs and lightly spray the coated chicken with oil before baking. This helps the coating turn golden and crunchy in the oven.
Can I make these chicken tenders gluten-free?
I can easily make them gluten-free by replacing the flour with gluten-free flour and using gluten-free breadcrumbs.
How do I know when the chicken is fully cooked?
I check that the internal temperature reaches 165°F (74°C). The chicken should also look opaque inside and the coating should be golden brown.
Can I prepare the tenders ahead of time?
Yes, I sometimes bread the chicken a few hours in advance and keep it covered in the refrigerator. When I am ready to cook, I simply bake them as directed.
Conclusion
I find these crispy oven baked chicken tenders to be one of the easiest and most satisfying meals I can prepare. They deliver the crunchy texture I love while staying simple and lighter than traditional fried chicken. With a few pantry ingredients and a quick bake in the oven, I end up with tender, flavorful chicken that works perfectly for family dinners, snacks, or casual gatherings.
Crispy oven baked chicken tenders that are juicy inside, golden outside, and easy to make without frying.
Ingredients
1 lb (450 g) chicken breast, cut into strips
1 cup (100 g) breadcrumbs or panko breadcrumbs
1/2 cup (50 g) grated parmesan cheese
1/2 cup (60 g) all-purpose flour
2 large eggs
2 tablespoons milk
1 teaspoon garlic powder
1 teaspoon paprika
1/2 teaspoon onion powder
1/2 teaspoon salt
1/2 teaspoon black pepper
2 tablespoons olive oil or cooking spray
Instructions
Preheat the oven to 400°F (200°C) and line a baking sheet with parchment paper or lightly grease it.
Prepare three bowls for breading: place the flour in the first bowl, whisk the eggs and milk together in the second bowl, and mix the breadcrumbs, parmesan cheese, garlic powder, paprika, onion powder, salt, and black pepper in the third bowl.
Coat each chicken strip first in the flour, then dip it into the egg mixture, and finally press it into the breadcrumb mixture until fully coated.
Arrange the coated chicken tenders on the prepared baking sheet, leaving a little space between each piece.
Lightly drizzle or spray the tenders with olive oil to help them crisp up.
Bake for 18 to 22 minutes, flipping halfway through, until golden brown and cooked through.
Let the tenders rest for 2 minutes before serving.
Notes
Use panko breadcrumbs for extra crunch.
Add cayenne pepper for a spicy version.
Dried oregano or Italian seasoning adds extra flavor to the coating.
Crushed cornflakes can be used instead of breadcrumbs for a crunchier texture.
Store leftovers in an airtight container in the refrigerator for up to 3 days.
Reheat in a 375°F (190°C) oven for 8 to 10 minutes to keep them crispy.
Freeze cooked tenders for up to 2 months and reheat directly from frozen in the oven.
Chicken is fully cooked when it reaches an internal temperature of 165°F (74°C).


