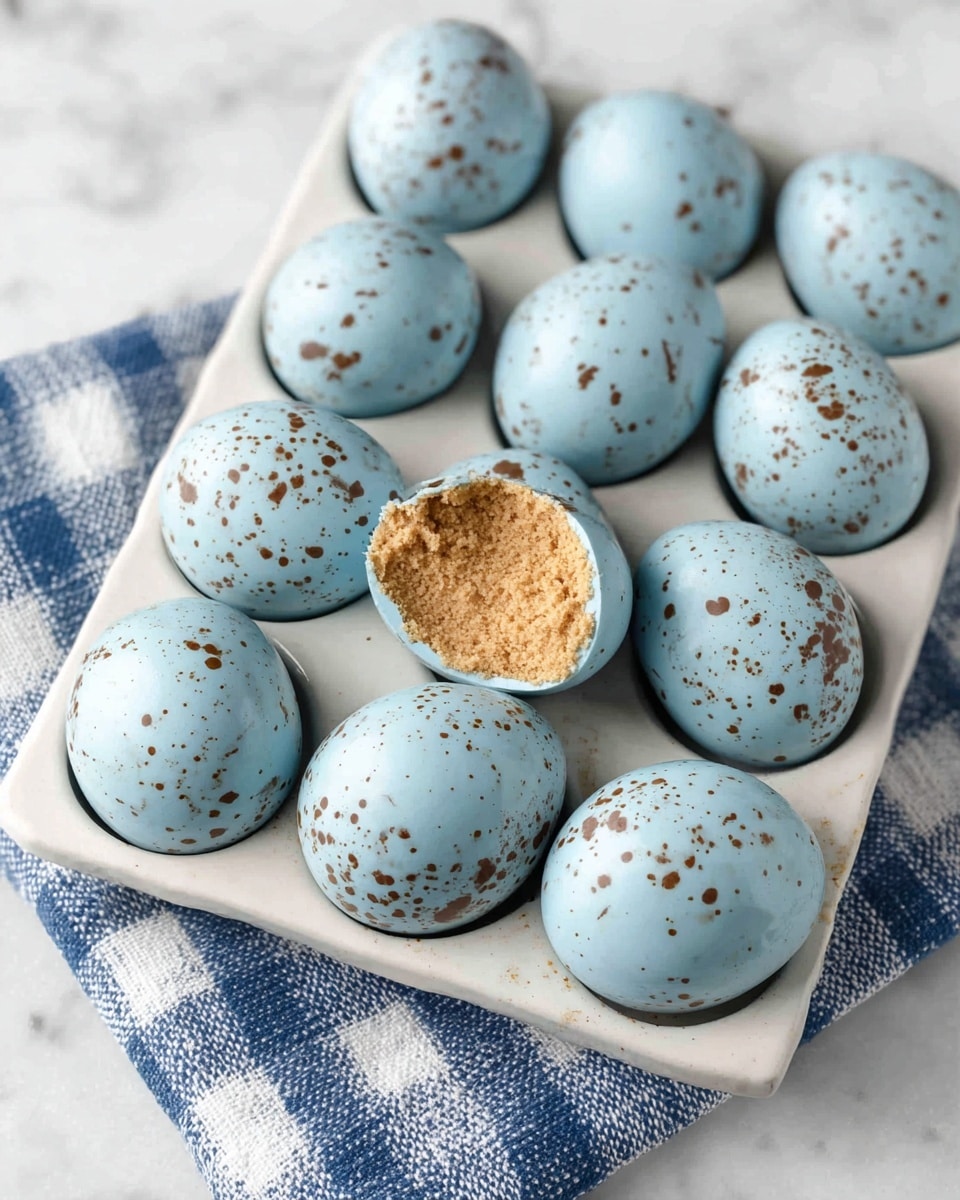
I love making these Peanut Butter Eggs every spring because they are creamy, sweet, and coated in a smooth chocolate shell. They remind me of classic store-bought treats, but I enjoy how fresh and customizable they are when I prepare them at home.
Why You’ll Love This Recipe
I find this recipe incredibly simple and satisfying to make. I don’t need any baking, which makes it perfect when I want a quick dessert. The peanut butter filling turns out soft and rich, while the chocolate coating adds the perfect snap. I also like that I can shape them however I want and decorate them for Easter.
ingredients
(Here’s a tip: Check out the full list of ingredients and measurements in the recipe card below.)
I start by mixing the peanut butter and softened butter in a bowl until smooth. Then I add the vanilla extract and gradually stir in the powdered sugar until a thick dough forms.
I take small portions of the mixture and shape them into egg forms using my hands. Once shaped, I place them on a lined tray and refrigerate them for about 30–45 minutes until they firm up.
While they chill, I melt the chocolate chips with the coconut oil in a microwave-safe bowl, stirring every 20–30 seconds until smooth.
I dip each chilled peanut butter egg into the melted chocolate, making sure it’s fully coated, then place it back on the tray. I let them set at room temperature or in the fridge until the chocolate hardens.
Servings and timing
I usually get about 12 to 15 peanut butter eggs from this recipe, depending on the size I shape them.
Preparation time: 15 minutes Chilling time: 30–45 minutes Total time: about 1 hour
Variations
I sometimes switch things up by using crunchy peanut butter for added texture. Other times, I drizzle white chocolate on top for decoration. If I want a sweeter version, I use milk chocolate, and for a richer taste, I go with dark chocolate. Occasionally, I even add a pinch of salt to the filling to balance the sweetness.
storage/reheating
I store these peanut butter eggs in an airtight container in the refrigerator for up to one week. If I want to keep them longer, I freeze them for up to two months and thaw them in the fridge before serving. I don’t reheat them since they are best enjoyed chilled or at room temperature.
FAQs
How do I keep the eggs from being too soft?
I make sure to chill the peanut butter mixture long enough before dipping. If it still feels soft, I add a little more powdered sugar.
Can I use natural peanut butter?
I can, but I notice it makes the filling softer and slightly oily, so I usually stick with regular creamy peanut butter.
What’s the best chocolate for coating?
I like using semi-sweet chocolate for balance, but I sometimes choose milk chocolate for a sweeter result.
Can I make these ahead of time?
Yes, I often make them a few days in advance and keep them refrigerated until I’m ready to serve.
How do I make them look smoother?
I dip them carefully using a fork and tap off excess chocolate. I also smooth any marks before the chocolate sets.
Conclusion
I enjoy making Peanut Butter Eggs because they’re easy, delicious, and perfect for celebrating the season. The combination of creamy filling and chocolate coating always turns out satisfying, and I like how I can personalize them each time I make a batch.


