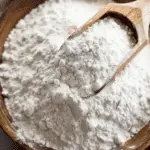
Making self-rising flour at home is a simple and convenient way to ensure you always have it on hand for your baking needs. It’s great for making pancakes, biscuits, cakes, and more without having to run to the store. Plus, it’s a perfect way to save a bit of time and money if you’re in a pinch. I love how easy and quick this recipe is – and it only requires two ingredients!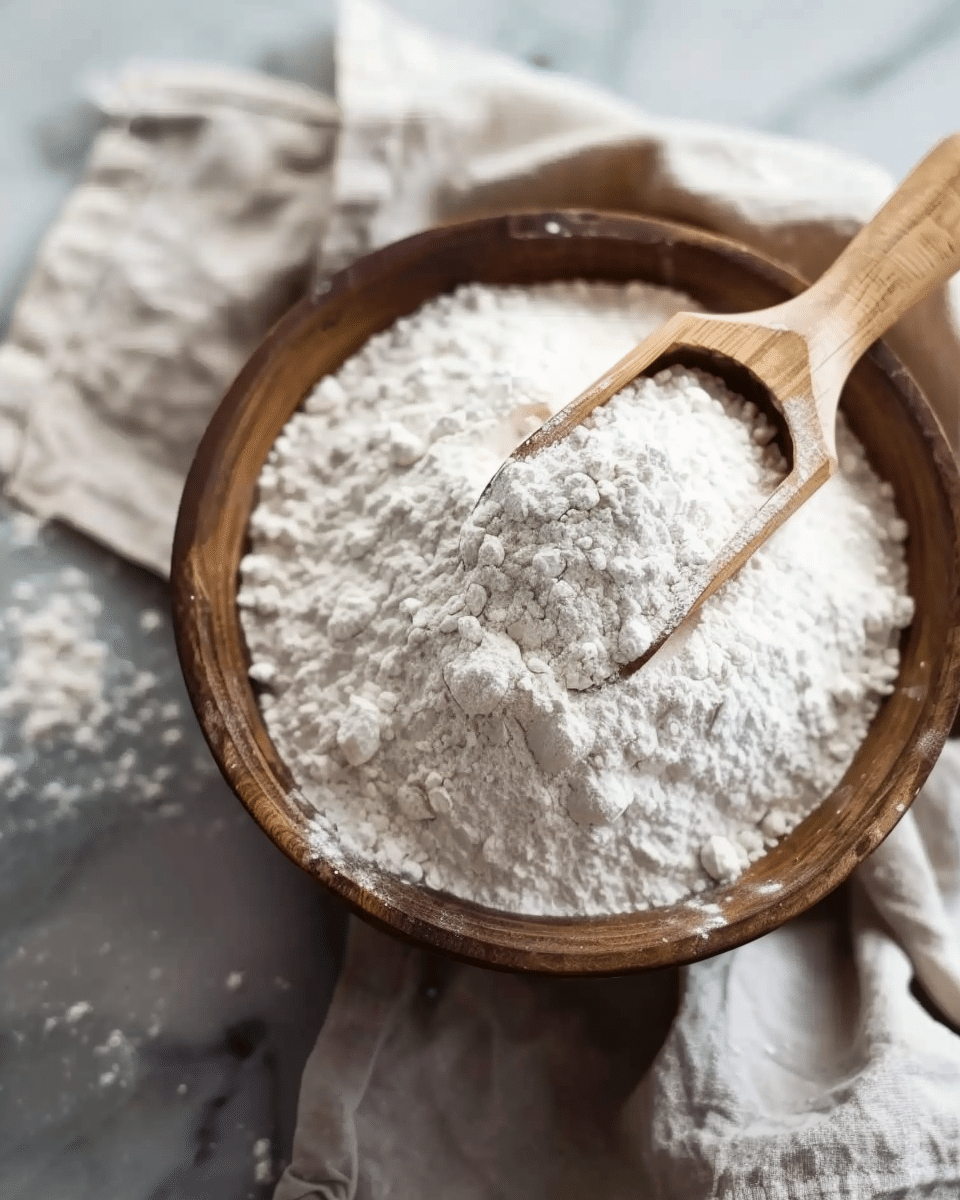
Why You’ll Love This Recipe
This homemade self-rising flour is not only quick and easy to make, but it’s also versatile. Whether I’m baking some fresh biscuits or trying a new cake recipe, I can rely on this simple mixture. The best part is that I don’t have to worry about keeping a store-bought packet in my pantry – I can make it as needed, and it’s fresh! I also like how customizable it is – I can easily scale up or down depending on how much I need.
Ingredients
-
1 cup all-purpose flour
-
1 1/2 teaspoons baking powder
-
1/4 teaspoon salt
(Hint: Check out the full list of ingredients and measurements in the recipe card below.)
Directions
-
In a medium-sized bowl, I whisk together the flour, baking powder, and salt until they are well combined.
-
Once mixed, I use it right away in my recipe, or I store it for later use.
-
This mixture is ready for any recipe that calls for self-rising flour.
Servings and Timing
This recipe makes 1 cup of self-rising flour. If you need more, I simply scale the ingredients up based on how many cups I require. It takes just 5 minutes to prepare, so I’m all set and ready to bake in no time.
Variations
If I’m looking for a gluten-free option, I can easily substitute the all-purpose flour with a gluten-free flour blend. For a more flavorful variation, I sometimes add a bit of dried herbs like rosemary or thyme, especially when I’m baking savory treats like scones or biscuits.
Storage/Reheating
I store my homemade self-rising flour in an airtight container in the pantry. It keeps well for up to 3 months, though I typically use it within a few weeks to ensure maximum freshness. There’s no need for reheating since it’s ready to use straight from the container.
FAQs
Can I make a larger batch of self-rising flour?
Yes, you can definitely scale this recipe up. For every additional cup of flour, simply add 1 1/2 teaspoons of baking powder and 1/4 teaspoon of salt. I often make a few extra cups and store them for future baking sessions.
Can I use this DIY self-rising flour for all recipes that call for it?
Yes, I use it in any recipe that asks for self-rising flour, including cakes, muffins, and pancakes. However, if the recipe calls for other leavening agents like baking soda, I make sure to adjust accordingly.
Can I use whole wheat flour instead of all-purpose flour?
Absolutely! I sometimes substitute whole wheat flour for a heartier option. Just keep in mind that it may slightly alter the texture of your final product, but it’s still a great choice.
How long will homemade self-rising flour last?
If stored in an airtight container, it lasts up to 3 months in a cool, dry place. I make sure to keep it in a pantry or cupboard away from moisture to ensure it stays fresh.
Can I make self-rising flour without baking powder?
Baking powder is essential for the rise, but if I don’t have it, I can use a homemade mix of 1/2 teaspoon cream of tartar and 1/4 teaspoon baking soda for every teaspoon of baking powder required.
Conclusion
DIY self-rising flour is a fantastic, easy way to have this pantry staple always ready for baking. With just a few simple ingredients, I can make it in no time and be ready to bake whatever delicious treats I have in mind. It’s a great addition to my baking routine, and it never fails to deliver delicious results.
Print
DIY Self-Rising Flour
- Prep Time: 5 minutes
- Cook Time: 0 minutes
- Total Time: 5 minutes
- Yield: 1 cup
- Category: Basics
- Method: Mixing
- Cuisine: Universal
- Diet: Vegetarian
Description
A quick and easy DIY self-rising flour recipe made with just all-purpose flour, baking powder, and salt. Perfect for baking pancakes, biscuits, cakes, and more without needing store-bought mixes.
Ingredients
- 1 cup all-purpose flour
- 1 1/2 teaspoons baking powder
- 1/4 teaspoon salt
Instructions
- In a medium-sized bowl, whisk together the flour, baking powder, and salt until well combined.
- Use immediately in any recipe that calls for self-rising flour, or store in an airtight container for later use.
- Scale the recipe up or down depending on how much self-rising flour you need.
Notes
- Store in an airtight container in a cool, dry place for up to 3 months.
- Substitute gluten-free flour for a gluten-free version.
- Add dried herbs for a savory twist.
Nutrition
- Serving Size: 1 cup
- Calories: 455
- Sugar: 0g
- Sodium: 590mg
- Fat: 1.2g
- Saturated Fat: 0.2g
- Unsaturated Fat: 1g
- Trans Fat: 0g
- Carbohydrates: 95g
- Fiber: 3.4g
- Protein: 13g
- Cholesterol: 0mg

