Making your own self-rising flour at home is incredibly easy and convenient. I love how this quick mix can save me a trip to the store and gives me full control over my baking ingredients. With just a few pantry staples, I can whip up a batch of self-rising flour whenever I need it. It’s perfect for biscuits, pancakes, and any recipe that calls for this versatile flour blend.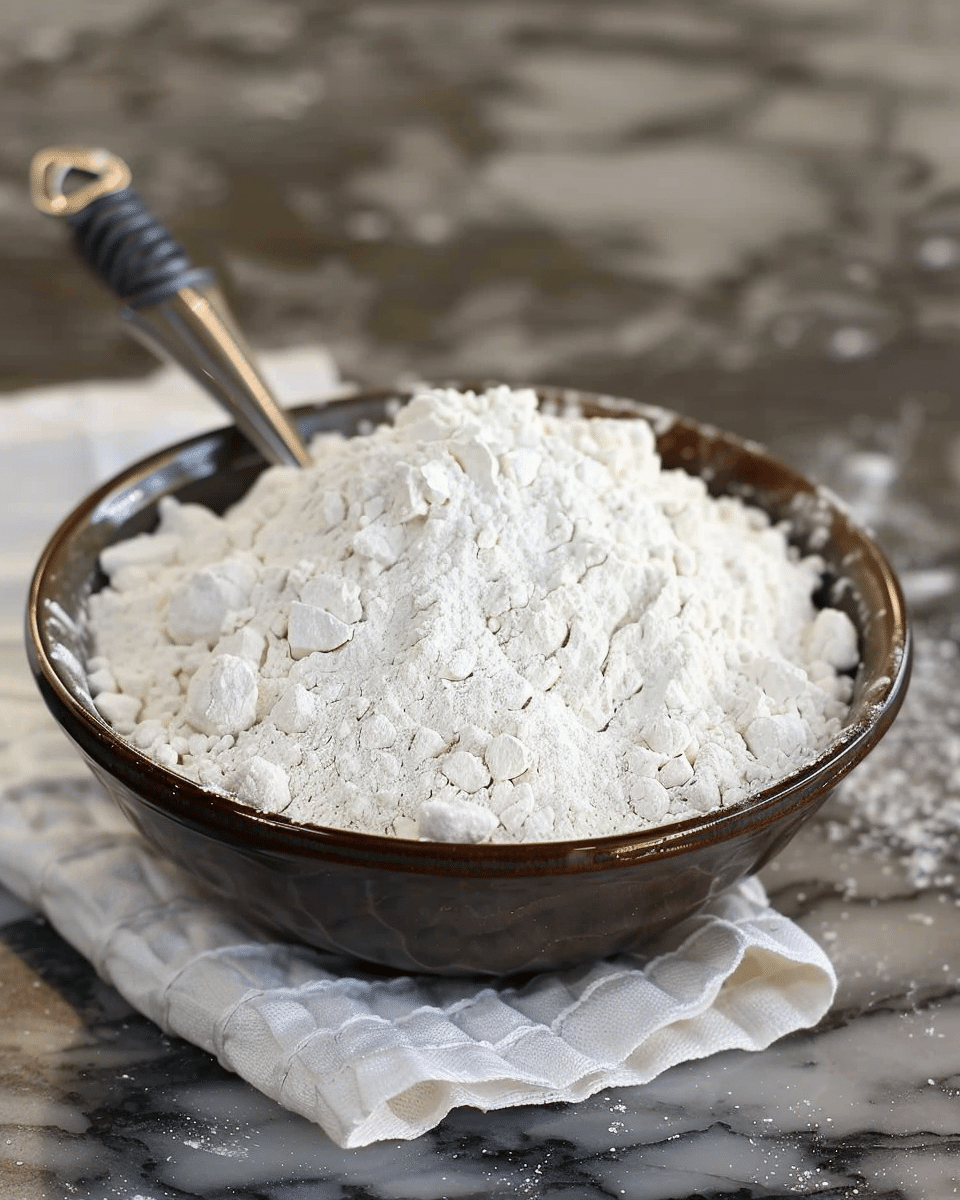
Why You’ll Love This Recipe
I enjoy making this DIY version because it’s cost-effective and incredibly simple. I never have to worry about running out of self-rising flour again. It’s also great because I can use high-quality flour and control the amount of salt, which is especially helpful if I’m watching my sodium intake. Plus, I always know exactly what’s going into my recipes.
ingredients
(Here’s a tip: Check out the full list of ingredients and measurements in the recipe card below.)
-
All-purpose flour
-
Baking powder
-
Salt
directions
-
I measure out the all-purpose flour and add it to a mixing bowl.
-
I stir in the baking powder and salt until everything is well combined.
-
I make sure the mixture is fully incorporated by whisking it or sifting it.
-
I use it right away in recipes or store it in an airtight container for later use.
Servings and timing
This recipe makes about 1 cup of self-rising flour, but I can easily double or triple it depending on what I need. It takes just 5 minutes to prepare, making it one of the quickest kitchen hacks I rely on.
Variations
If I want a low-sodium version, I reduce the salt or skip it entirely and add salt later when I’m baking. I can also experiment with whole wheat flour for a heartier texture, although the results may be denser. For gluten-free baking, I substitute a gluten-free all-purpose flour blend, but I always make sure it’s one that behaves similarly to wheat flour.
storage/reheating
I store any extra self-rising flour in an airtight container in a cool, dry place for up to 6 months. There’s no need to reheat it—just give it a quick whisk or shake before using to make sure the ingredients stay well mixed.
FAQs
What’s the difference between self-rising flour and all-purpose flour?
Self-rising flour contains baking powder and salt, while all-purpose flour is just plain flour. That’s why I like to mix my own when a recipe calls for it—it saves me from buying a separate product.
Can I use baking soda instead of baking powder?
No, baking soda isn’t a direct substitute here. I stick with baking powder because it includes the acid needed to help baked goods rise, which baking soda alone doesn’t provide.
How much baking powder and salt do I add per cup of flour?
For every 1 cup of all-purpose flour, I add 1½ teaspoons of baking powder and ¼ teaspoon of salt.
Can I make a large batch and store it?
Yes, I often scale the recipe up and keep it in an airtight container. Just make sure it’s stored away from moisture and heat to keep it fresh.
Does homemade self-rising flour work the same as store-bought?
Absolutely. I’ve used this mix in pancakes, biscuits, and muffins with great results. As long as the proportions are right, it performs just like the packaged kind.
Conclusion
Making DIY self-rising flour is one of my favorite kitchen shortcuts. It’s fast, simple, and gives me more control over the ingredients I’m using. Whether I’m baking biscuits on a whim or whipping up a batch of pancakes, I always feel prepared with this handy mix in my pantry.
Print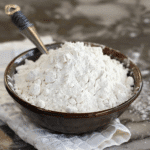
DIY Self-Rising Flour
- Prep Time: 5 minutes
- Cook Time: 0 minutes
- Total Time: 5 minutes
- Yield: 1 cup
- Category: Baking
- Method: Mixing
- Cuisine: Universal
- Diet: Vegetarian
Description
A quick and easy DIY self-rising flour recipe made with pantry staples. Perfect for biscuits, pancakes, and more when you need self-rising flour in a pinch.
Ingredients
- 1 cup all-purpose flour
- 1½ teaspoons baking powder
- ¼ teaspoon salt
Instructions
- Measure out 1 cup of all-purpose flour and place it in a mixing bowl.
- Add 1½ teaspoons of baking powder and ¼ teaspoon of salt.
- Stir the ingredients until well combined.
- Whisk or sift the mixture to ensure it is fully incorporated.
- Use immediately or store in an airtight container for later use.
Notes
- For a low-sodium version, reduce or omit the salt.
- Use a gluten-free all-purpose flour blend for gluten-free baking.
- Store in an airtight container in a cool, dry place for up to 6 months.
- Whisk or shake before using to redistribute ingredients.
Nutrition
- Serving Size: 1 cup
- Calories: 455
- Sugar: 0g
- Sodium: 590mg
- Fat: 1.2g
- Saturated Fat: 0.2g
- Unsaturated Fat: 1g
- Trans Fat: 0g
- Carbohydrates: 95g
- Fiber: 3.4g
- Protein: 13g
- Cholesterol: 0mg

