This no-churn vanilla ice cream is a creamy, dreamy dessert made with just four simple ingredients—and the best part? I don’t need an ice cream maker to whip it up. It’s smooth, sweet, and full of rich vanilla flavor, making it a summer (or anytime) staple in my kitchen.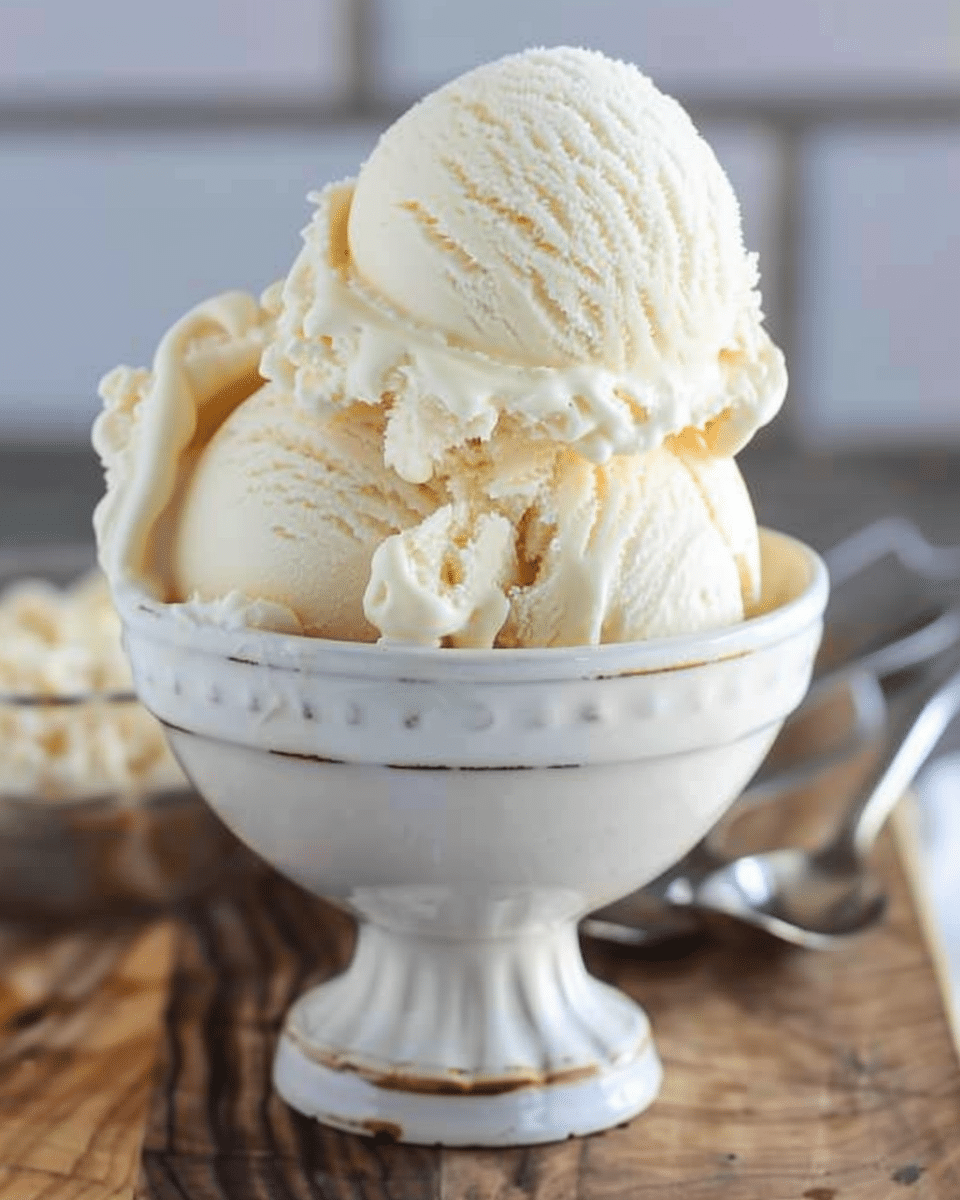
Why You’ll Love This Recipe
I love how effortlessly this recipe comes together without any fancy equipment. The condensed milk adds just the right amount of sweetness, and the whipped cream gives it that luxurious texture I crave in a good ice cream. It’s endlessly customizable, too—once I’ve got the base, I can mix in anything from cookie chunks to swirls of caramel. This is my go-to for a quick frozen dessert that tastes like I spent all day on it.
Ingredients
(Here’s a tip: Check out the full list of ingredients and measurements in the recipe card below.)
-
1 (14-ounce) can sweetened condensed milk
-
2 teaspoons vanilla extract or vanilla bean paste
-
Pinch of salt
-
2 cups heavy whipping cream, chilled
Directions
-
I start by placing a large mixing bowl and a freezer-safe loaf pan in the freezer for 30 minutes before making the ice cream. This helps everything stay cold for a better texture.
-
In a separate medium bowl, I mix together the sweetened condensed milk, vanilla extract (or paste), and a pinch of salt. I set this aside.
-
I take out the chilled bowl, pour in the cold heavy whipping cream, and beat it on high with a hand mixer until stiff peaks form.
-
Then, I gently fold the whipped cream into the condensed milk mixture one cup at a time, making sure not to overmix—just until everything is smooth and uniform.
-
I line the loaf pan with parchment paper (makes cleanup easier), pour in the mixture, smooth the top, cover it, and freeze.
-
After two hours in the freezer, I can stir in any mix-ins I want—like brownie bits or crushed cookies—then re-cover and freeze it for about three more hours until fully set.
-
Before scooping, I let it sit out for about five minutes to soften just a bit.
Servings and timing
This recipe makes about 6 servings.
Prep time: 15 minutes
Total time: 5 hours 15 minutes (including freezing)
Variations
-
Chocolate swirl: I like drizzling melted chocolate or fudge into the base for a ripple effect.
-
Berry blast: I fold in crushed raspberries or blueberry jam for a fruity version.
-
Nutty crunch: Chopped pistachios or pecans give it a satisfying crunch.
-
Cookies and cream: Crushed chocolate sandwich cookies are always a hit.
-
Coffee kick: A teaspoon of instant espresso powder adds a grown-up twist.
Storage/Reheating
I keep my no-churn ice cream in an airtight container in the freezer for up to two weeks. To serve, I just let it sit at room temperature for 5–10 minutes—it softens up beautifully. Since it’s a frozen treat, there’s no reheating needed, just scoop and enjoy.
FAQs
What makes this no-churn ice cream creamy without an ice cream maker?
The secret is in whipping the cream until stiff peaks form. That air gives it a light, creamy texture, while the condensed milk keeps it smooth and scoopable.
Can I use low-fat milk or cream instead?
I don’t recommend it. For the best texture and taste, I stick with full-fat heavy whipping cream—it’s what gives the ice cream its rich, creamy base.
How long does it take to freeze completely?
I usually give it at least 5 hours in the freezer. Two hours in, I can stir in mix-ins if I want, then I let it finish setting up for another three hours or so.
Can I make this recipe dairy-free?
Yes, but I’ll need to use coconut cream instead of heavy cream and a dairy-free condensed milk substitute. The texture and flavor will be slightly different, but still delicious.
Can I double the recipe?
Absolutely. I just make sure to use a larger container or divide the mixture between two pans so it freezes evenly.
Conclusion
This no-churn vanilla ice cream is my favorite way to enjoy a classic treat with minimal effort. It’s rich, customizable, and doesn’t require any special tools. Whether I’m keeping it simple or adding fun mix-ins, this is a dessert I keep coming back to—creamy, easy, and always satisfying.
Print
No-Churn Vanilla Ice Cream
- Prep Time: 15 minutes
- Total Time: 5 hours 15 minutes
- Yield: 6 servings
- Category: Dessert
- Method: No‑Churn, Frozen
- Cuisine: American
- Diet: Vegetarian
Description
A super‑simple no‑churn vanilla ice cream made with just four ingredients—no ice cream maker required, perfect for a machine‑free, creamy classic.
Ingredients
- 1 (14‑ounce) can sweetened condensed milk
- 2 teaspoons vanilla extract or vanilla bean paste
- Pinch of salt
- 2 cups heavy whipping cream, chilled
Instructions
- Place a large mixing bowl and a freezer‑safe loaf pan in the freezer for 30 minutes prior to starting.
- In a separate medium bowl, combine the sweetened condensed milk, vanilla extract (or vanilla bean paste), and a pinch of salt. Set aside.
- Remove the chilled mixing bowl from the freezer, add the cold heavy whipping cream, and beat on high speed with a hand mixer until stiff peaks form.
- Gently fold the whipped cream into the condensed milk mixture one cup at a time until no streaks remain. Avoid overmixing.
- Line the loaf pan with parchment paper (optional, for easier cleanup), pour in the ice cream mixture, and smooth the top. Cover and freeze.
- After 2 hours, add any desired mix‑ins (e.g. brownie pieces, caramel ribbons, nuts), swirl gently with a knife, then re‑cover and freeze for an additional 3 hours or until fully set.
- Before serving, let the ice cream sit at room temperature for about 5 minutes to soften slightly.
Notes
- Line the loaf pan with parchment paper for easier clean‑up.
- During whipping, the cream will go through stages: bubbly → slightly thickened → rippling → puffy and airy.
Nutrition
- Calories: 490 kcal
- Sugar: 36 g
- Sodium: 121 mg
- Fat: 35 g
- Saturated Fat: 22 g
- Carbohydrates: 38 g
- Protein: 7 g
- Cholesterol: 131 mg

