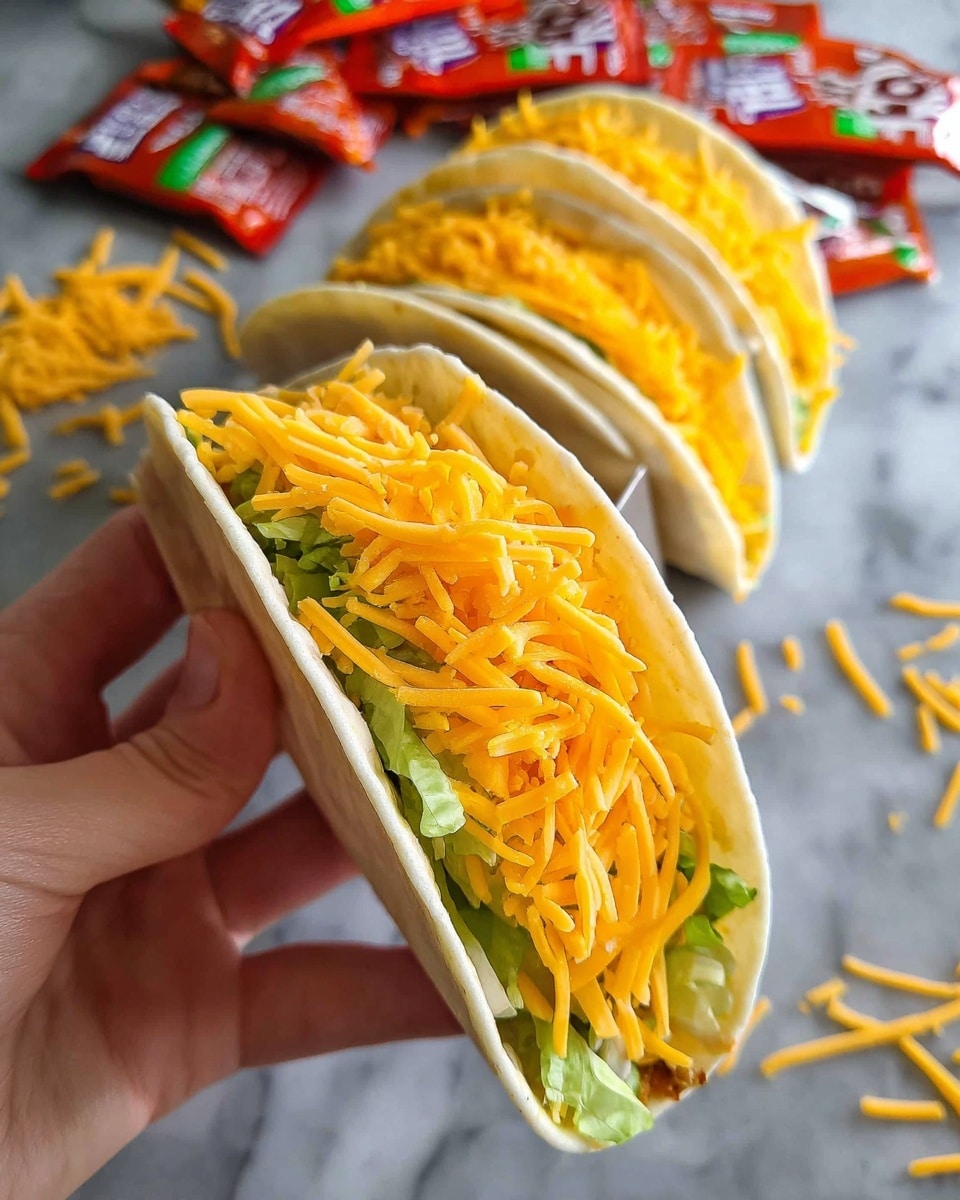
I love recreating this fast-food favorite at home with soft flatbread, crispy taco shells, seasoned beef, and plenty of melted cheese. It’s the perfect mix of textures and bold flavors in every bite.
Why You’ll Love This Recipe
I enjoy how this recipe combines a crunchy taco and a soft wrap into one satisfying dish. The melted cheese layer holds everything together beautifully, and I can customize the fillings exactly how I like them. It’s also quicker to make than it seems, and I always get that familiar, indulgent taste without leaving home.
ingredients
(Here’s a tip: Check out the full list of ingredients and measurements in the recipe card below.)
8 small flour tortillas (about 15 cm / 6 inches)
8 crunchy taco shells
2 cups shredded cheddar cheese
500 g ground beef
1 packet (30 g) taco seasoning mix
1/2 cup water
1 cup shredded lettuce
1 cup diced tomatoes
1/2 cup sour cream
1/4 cup mayonnaise
1 tablespoon lime juice
1 teaspoon garlic powder
1 teaspoon paprika
1/2 teaspoon salt
directions
I start by cooking the ground beef in a skillet over medium heat until it’s browned. I drain any excess fat, then add the taco seasoning and water, letting it simmer until thickened.
While the beef cooks, I prepare the sauce by mixing sour cream, mayonnaise, lime juice, garlic powder, paprika, and salt in a small bowl. I set it aside.
Next, I warm the flour tortillas in a pan or microwave until soft. I sprinkle a layer of shredded cheddar cheese onto each tortilla and place it briefly in a pan until the cheese melts.
I press a crunchy taco shell onto each melted cheese tortilla so it sticks together. Then I fill the taco shell with the seasoned beef, followed by lettuce and tomatoes.
I drizzle the prepared sauce inside, fold slightly if needed, and serve immediately while everything is warm and crispy.
Servings and timing
I usually make 8 gordita crunches with this recipe.
I sometimes swap the ground beef for grilled chicken or even spicy ground turkey. When I want a vegetarian option, I use seasoned black beans or lentils. I also like adding jalapeños for heat or using pepper jack cheese for extra flavor. Occasionally, I mix nacho cheese sauce with the shredded cheese for a richer texture.
storage/reheating
I store the components separately in airtight containers in the refrigerator for up to 3 days.
When reheating, I warm the beef in a pan and assemble fresh to keep the shells crispy. I avoid microwaving the assembled gorditas because they lose their crunch.
FAQs
Can I make these ahead of time?
I prefer preparing the fillings ahead, but I assemble them just before serving to keep the texture perfect.
What’s the best cheese to use?
I like cheddar, but I sometimes use a Mexican blend or pepper jack for more flavor.
Can I bake instead of pan-melting the cheese?
Yes, I place tortillas with cheese in the oven briefly until melted, then attach the taco shells.
How do I keep the taco shells from breaking?
I handle them gently and don’t overfill them, which helps prevent cracking.
Can I make this recipe healthier?
I use lean ground meat, light sour cream, and add extra vegetables when I want a lighter version.
Conclusion
I find this homemade Cheesy Gordita Crunch incredibly satisfying and fun to make. It brings together crunchy, cheesy, and fresh elements in a way that always feels like a treat. Whether I’m making it for a quick dinner or sharing with friends, it’s always a hit.
A homemade version of the classic cheesy gordita crunch featuring soft tortillas, crispy taco shells, seasoned beef, melted cheese, and a creamy tangy sauce.
Ingredients
8 small flour tortillas (about 15 cm / 6 inches)
8 crunchy taco shells
2 cups shredded cheddar cheese
500 g ground beef
1 packet (30 g) taco seasoning mix
1/2 cup water
1 cup shredded lettuce
1 cup diced tomatoes
1/2 cup sour cream
1/4 cup mayonnaise
1 tablespoon lime juice
1 teaspoon garlic powder
1 teaspoon paprika
1/2 teaspoon salt
Instructions
Cook ground beef in a skillet over medium heat until browned. Drain excess fat.
Add taco seasoning and water to the beef, simmer until thickened.
In a small bowl, mix sour cream, mayonnaise, lime juice, garlic powder, paprika, and salt to make the sauce.
Warm the flour tortillas in a pan or microwave until soft.
Sprinkle shredded cheddar cheese onto each tortilla and heat briefly until melted.
Press a crunchy taco shell onto each cheesy tortilla so it sticks.
Fill each taco shell with seasoned beef, lettuce, and diced tomatoes.
Drizzle the prepared sauce inside and serve immediately.
Notes
Assemble just before serving to keep shells crispy.
Swap beef for chicken, turkey, or plant-based alternatives.
Add jalapeños or use pepper jack cheese for extra spice.
Store components separately in the fridge for up to 3 days.
Reheat beef in a pan and assemble fresh for best texture.


