I love making this lemon dump cake when I want a bright, citrusy dessert with almost no effort. It’s one of those recipes I turn to when I need something quick but still delicious. The layers bake together into a soft, gooey, and slightly crisp dessert that always feels comforting.
Why You’ll Love This Recipe
I enjoy how simple this recipe is—there’s no complicated mixing or special technique involved. I just layer the ingredients and let the oven do the work. The combination of tangy lemon and sweet cake creates a balance that I find refreshing and satisfying. It’s perfect when I want a dessert that feels homemade without spending too much time in the kitchen.
Ingredients
(Here’s a tip: Check out the full list of ingredients and measurements in the recipe card below.)
1 can (21 oz / 595 g) lemon pie filling
1 box (about 15.25 oz / 432 g) yellow cake mix
1/2 cup (115 g) unsalted butter, melted
1/2 cup cream cheese, softened
1 teaspoon vanilla extract
1/4 cup granulated sugar
1 tablespoon lemon zest (optional)
Directions
I start by preheating the oven to 180°C (350°F) and lightly greasing a baking dish.
I spread the lemon pie filling evenly across the bottom of the dish. In a small bowl, I mix the softened cream cheese, sugar, and vanilla extract until smooth, then I dollop this mixture over the lemon filling.
Next, I sprinkle the dry cake mix evenly over the top without stirring. I slowly drizzle the melted butter across the surface, making sure to cover as much of the cake mix as possible. If I want extra lemon flavor, I sprinkle some lemon zest on top.
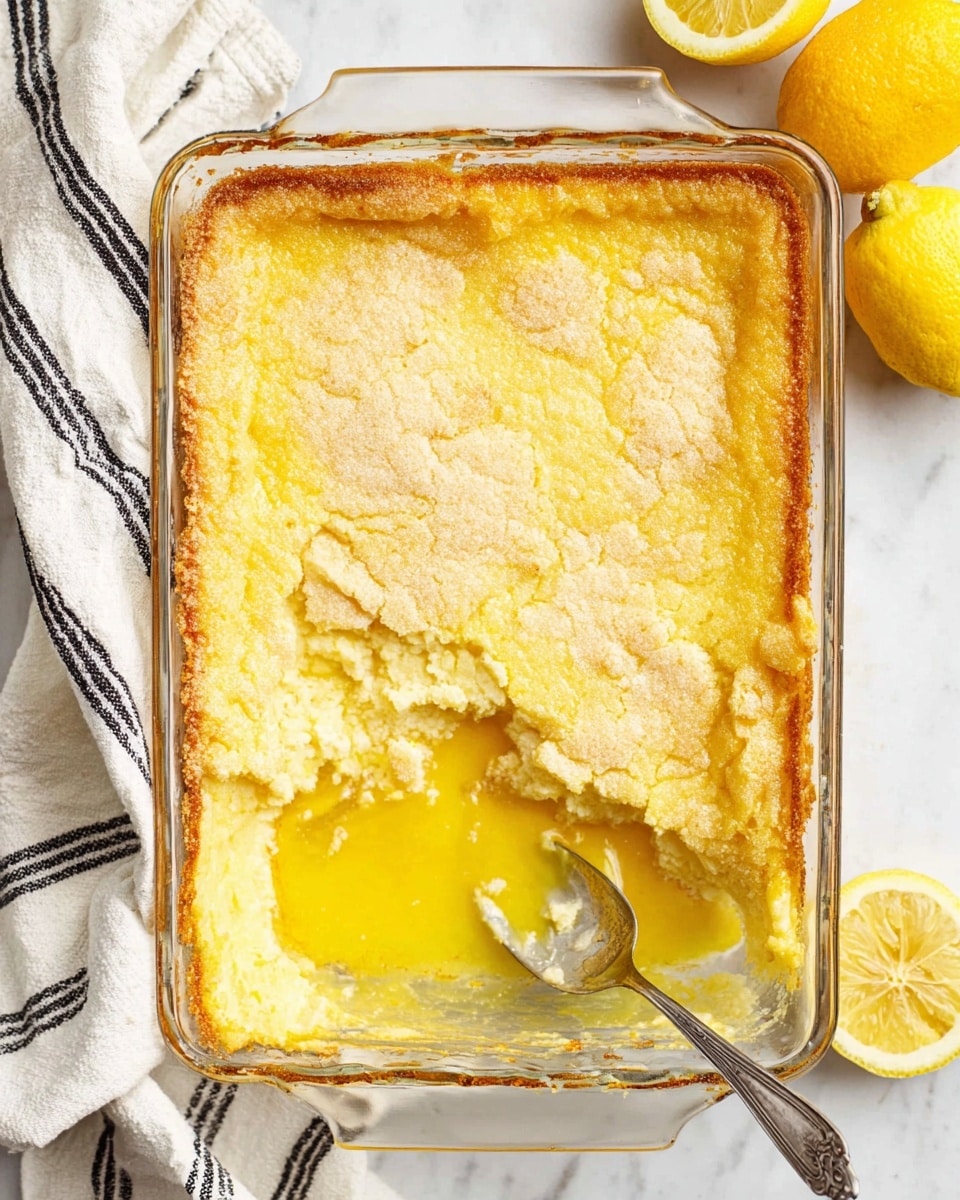
I bake the cake for about 40–45 minutes, until the top is golden and slightly crisp.
I let it cool slightly before serving, which helps the layers set while still keeping that warm, gooey texture.
Servings and timing
I usually get about 8 to 10 servings from this recipe. It takes me around 10 minutes to prepare and 40–45 minutes to bake, so the total time is about 50–55 minutes.
Variations
I sometimes swap the yellow cake mix for a lemon cake mix to intensify the citrus flavor. If I want a richer dessert, I add white chocolate chips. I also like serving it with whipped cream or vanilla ice cream for an extra indulgent touch.
storage/reheating
I store leftovers in an airtight container in the refrigerator for up to 4 days. When reheating, I warm a portion in the microwave for about 20–30 seconds to bring back the soft, gooey texture.
FAQs
Can I use homemade lemon filling?
I can use homemade lemon filling if I prefer, and it works just as well.
Do I need to mix the cake mix?
I don’t mix it—just sprinkle it on top and let it bake as is.
Can I make this ahead of time?
I can make it a day ahead and store it in the fridge, then reheat before serving.
Why is it called a dump cake?
I call it a dump cake because I simply layer (or “dump”) the ingredients into the dish without much mixing.
Can I freeze lemon dump cake?
I can freeze it, though the texture may change slightly when thawed and reheated.
Conclusion
I find this lemon dump cake to be one of the easiest desserts I can make without sacrificing flavor. It’s bright, comforting, and perfect for any occasion when I want something sweet with minimal effort.


